Brewing the best beer possible means using enough yeast to get the job done. Unfortunately, a single vial or pack of liquid yeast contains only enough cells for very low gravity ales, up to about 1.030. Although you could simply use multiple packages, this can get expensive if you make lagers or high-gravity ales.
But yeasts are living organisms, and given nutrients and a food source, they’ll happily reproduce. Homebrewers can use this to their advantage by making a yeast starter. A properly made starter lets you build up the number of yeast cells you need from just one package and can save you money.
A starter is simply a small volume of wort that’s used for the sole purpose of growing yeast cells. It takes only about half an hour, but plan to make it at least 24 hours before you need the yeast. This will give the yeast cells time to reproduce.
What you’ll need
You can purchase or build specialized equipment for starters, or it can be done quite economically with items you may already have. Here’s what you’ll need for a one-liter starter:
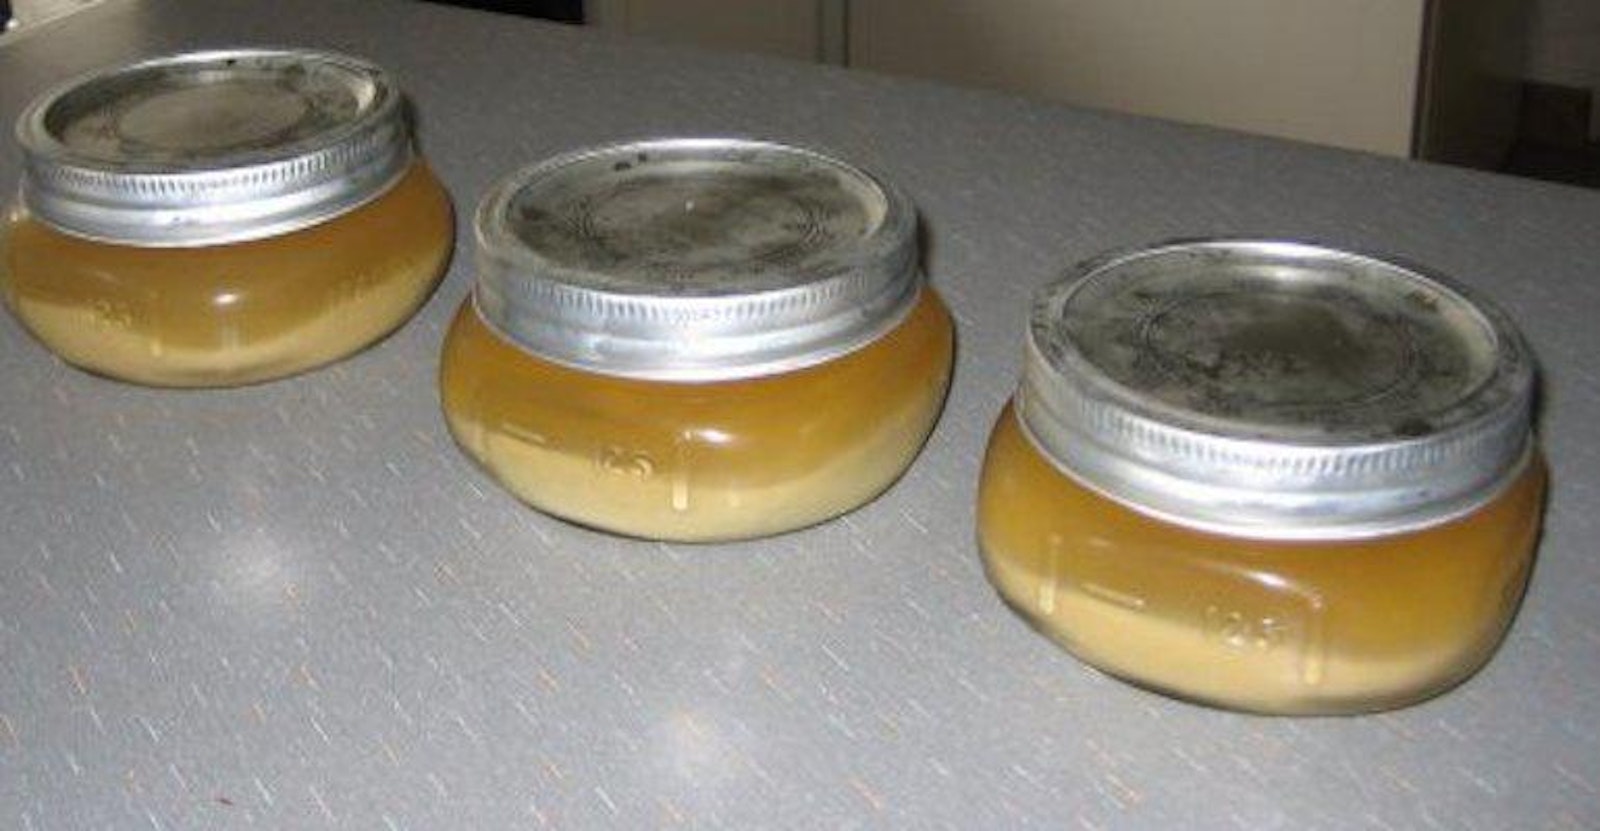
- A small vessel to hold the starter. Many brewers use a 64-ounce growler jug, but a canning jar, a clean gallon-sized milk jug, or even a vase will work. It just needs to be clean and large enough to hold the starter wort with some room for headspace.
- Dry malt extract (DME). Dry extract is easier to measure than liquid extract.
- A saucepan with a lid. For a liter starter, use at least a 1.5-quart saucepan to avoid a boilover.
- Aluminum foil
- A funnel, if needed
- A gram scale (optional)
- Sanitizer
- Brewers who own an Erlenmeyer flask can boil, chill, and ferment the starter all in the same vessel.
The process
Make your starter at least 24 hours before you need the yeast.
- Remove your yeast from the refrigerator. If you’re using a Wyeast Activator, go ahead and smack the pack. It doesn’t need to swell; you just want to release the nutrients in the internal pouch.
- Sanitize your fermentation vessel of choice, along with aluminum foil and a funnel, if needed.
- Measure one gram of DME for every 10 milliliters of starter wort. So, a one liter starter will require 100 grams of DME. If you don’t own a scale, you’ll have to eyeball the volume. 100 grams of DME is a little less than half a cup.
- Place the DME into a pitcher or water bottle with liter graduations.
- Add water to the pitcher or water bottle until the total volume of DME and water is one liter, and mix well.
- Pour the DME and water mixture into a saucepan and bring it to a boil.
- Boil the wort for about 10 minutes to sanitize, then kill the heat and place the lid on top. Steam will sanitize the lid.
- Place the saucepan in an ice and water bath and chill until the outside is cool to the touch.
- Using a sanitized funnel if needed, pour the chilled wort into the clean, sanitized growler jug or other vessel you’ll use to ferment the starter.
- Using a sanitized funnel if needed, pour the liquid yeast into the fermentation vessel.
- Cover the top of the fermentation vessel with sanitized aluminum foil and place the starter in a location that’s 65°-70° F (18°-21° C).
That’s it! If you started with healthy yeast, your starter will begin fermenting fairly soon. You may or may not notice Kräusen (foam) on top of the wort, but you should notice the wort becoming cloudy as the yeast gets to work.
You don’t need to cover the lid tightly. In fact, oxygen is good for yeast growth. If you remember, give the vessel a good swirl or two every couple of hours.
How to use the starter
You can use the starter in one of two ways:
- Pitch the entire starter, liquid and all, into fresh wort. If you make the starter 24-48 hours before brew day, this is what you’ll have to do since it will probably still be fermenting.
- When the starter has stopped fermenting, chill it for 24 hours or more in the refrigerator to drop the yeast out of suspension. Then, when you’re ready to use it, decant most of the liquid, then swirl vigorously to re-suspend the yeast in the remaining liquid, and pour into fresh wort. You’ll need to make your starter several days in advance for this.
The method you choose is up to you. Some brewers don’t want spent starter wort going into their beer. Others don’t mind.
Other points
- Choosing the right-sized starter requires math that depends on your ultimate batch size, the gravity of the wort, the age of the yeast, and other variables. There are several good calculators online to help you compute the appropriate size of starter for any batch of beer.
- If you find that you don’t own a vessel large enough to make a large enough starter, you can do a two-stage starter. The first stage is just as described above, but instead of pitching into fresh wort, you pitch into more starter wort to further build the yeast population. Again, online calculators can help.
- Both ale and lager yeast can be propagated at room temperature.
Fermentation is where beer is made. In Craft Beer & Brewing Magazine®’s online course How to Manage Your Fermentation for Better Beer, Josh Weikert covers fermentation temperature, yeast pitching rates, and everything else you need to know about managing fermentation. Sign up today and put yourself on the road to brewing better beer.