Except sometimes it doesn’t bubble when you think it should, and sometimes it bubbles when you don’t expect it to. An airlock that fails to bubble causes much concern for beginning homebrewers (second only, perhaps, to unsubstantiated fears of infection). But before you freak out, learn how they work and why a lack of bubbles probably isn’t the end of the world.
What an airlock does
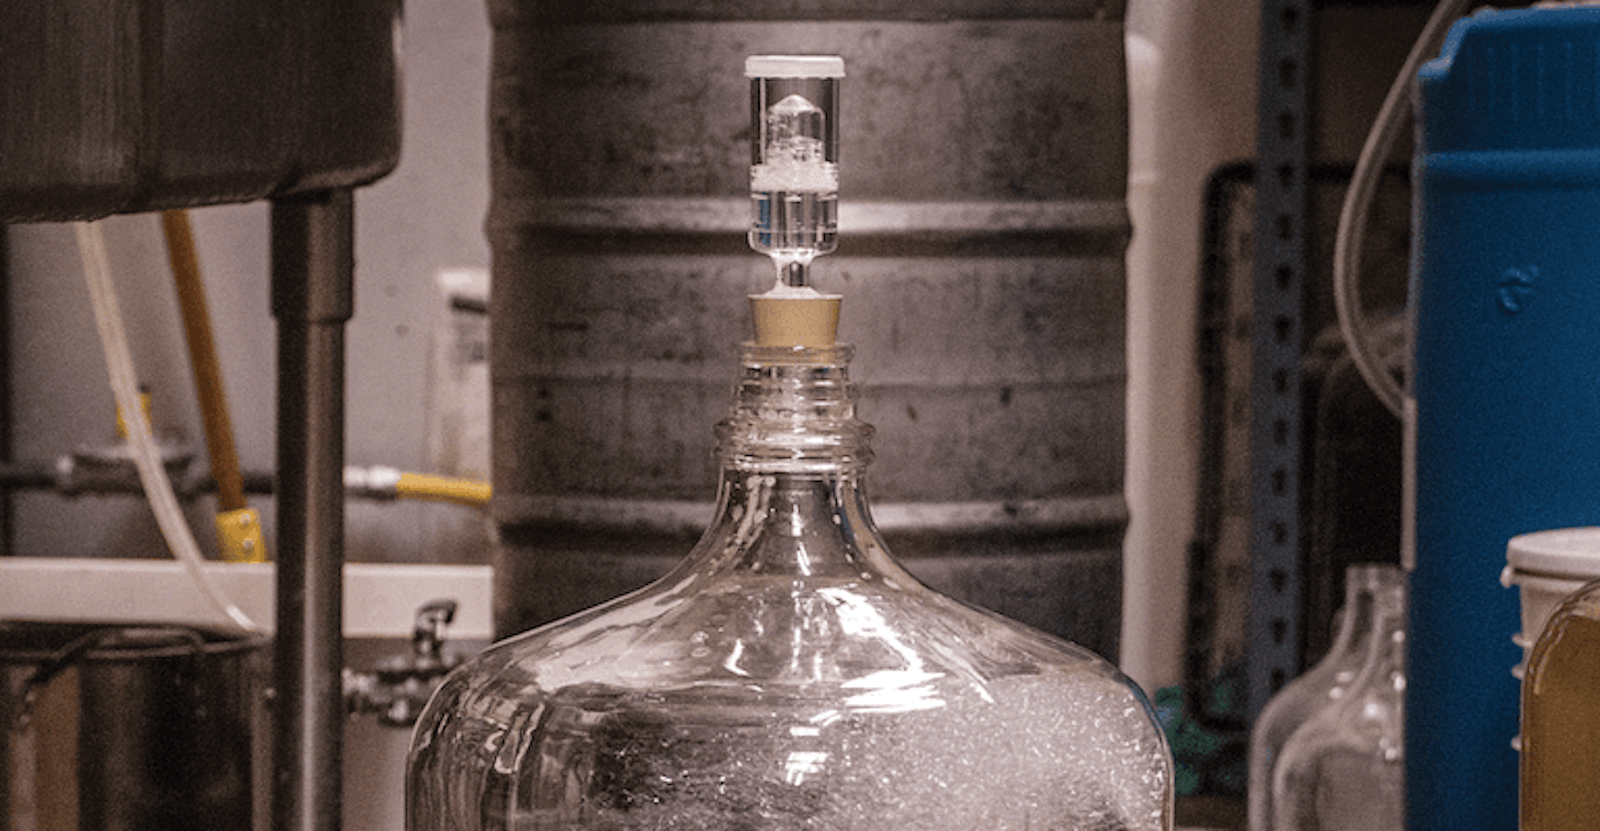
Airlocks come in two basic models: the three-piece airlock and the S-shaped airlock. The three-piece airlock disassembles into, well, three pieces, which makes for easy cleaning in case it gets clogged during an especially aggressive fermentation. The S-shaped airlock features two vertical chambers connected by a sort of drain trap. Either airlock will suit your fermentation needs, but brewers sometimes prefer the three-piece model for primary fermentations (which carry the highest risks of clogging) and reserve S-shaped models for secondary fermentation and aging.
The sole purpose of any airlock is to allow an otherwise sealed fermentation environment to relieve internal pressure. That’s it. Airlocks aren’t designed to tell you anything, and they aren’t indicators of fermentation. When an airlock bubbles, it simply means that the air pressure inside the bucket or carboy is sufficiently high to push up the little column of water and relieve the pressure.
It’s not bubbling!
If an airlock fails to bubble, all it means is that the pressure within the fermentor isn’t high enough to make it do so. This can easily happen if the lid isn’t fully closed, or if the seal isn’t perfect. One of my bucket’s lids has a small crack along the side that prevents an airtight seal, so the airlock never bubbles when I use that particular lid. Sometimes the grommets or stopper fails to properly seal with the airlock itself and lets pressure escape with no bubbles.
Temperature also plays a role. The colder the wort, the more carbon dioxide it absorbs before gas begins to vent. This is especially true for cold-fermented lagers, which may ferment for several days before the airlock begins to bubble (if ever).
Check out Craft Beer & Brewing's online courses for more fundamentals.
The best way to judge fermentation progress is to open the lid and draw a sample. Take a hydrometer reading of the sample and compare it to the original gravity of the wort. Smell and taste the sample, and let your senses inform you. If your gravity hasn’t moved and the sample tastes sweet and flat, then you may need fresh yeast. But if the gravity has dropped a few points and the sample has a yeasty twang, some sweetness, and perhaps some spritziness, then rest assured that all is well.
It’s bubbling again!
Sometimes an airlock resumes bubbling several days or weeks after fermentation has stopped. Although certain yeast strains can spontaneously start fermenting again, it’s more likely that the beer is releasing carbon dioxide as it warms up. Remember that gases are less soluble in warm liquids than in cold ones. So if your finished beer warms up a few degrees, carbon dioxide may come out of solution and make the airlock bubble even though active fermentation is complete.
Again, the only way to really know is to pull a sample and check the gravity. Has your beer reached its anticipated final gravity? Does the sample taste alcoholic and fruity (depending on the style), or is it still sweet? Only your senses and a measurement can say for sure.
The moral of all of this is that airlocks are fun to watch and sniff, but they don’t tell you anything. When you know how to monitor fermentation with your senses and a hydrometer, you’ll spend less time worrying and more time enjoying the hobby.