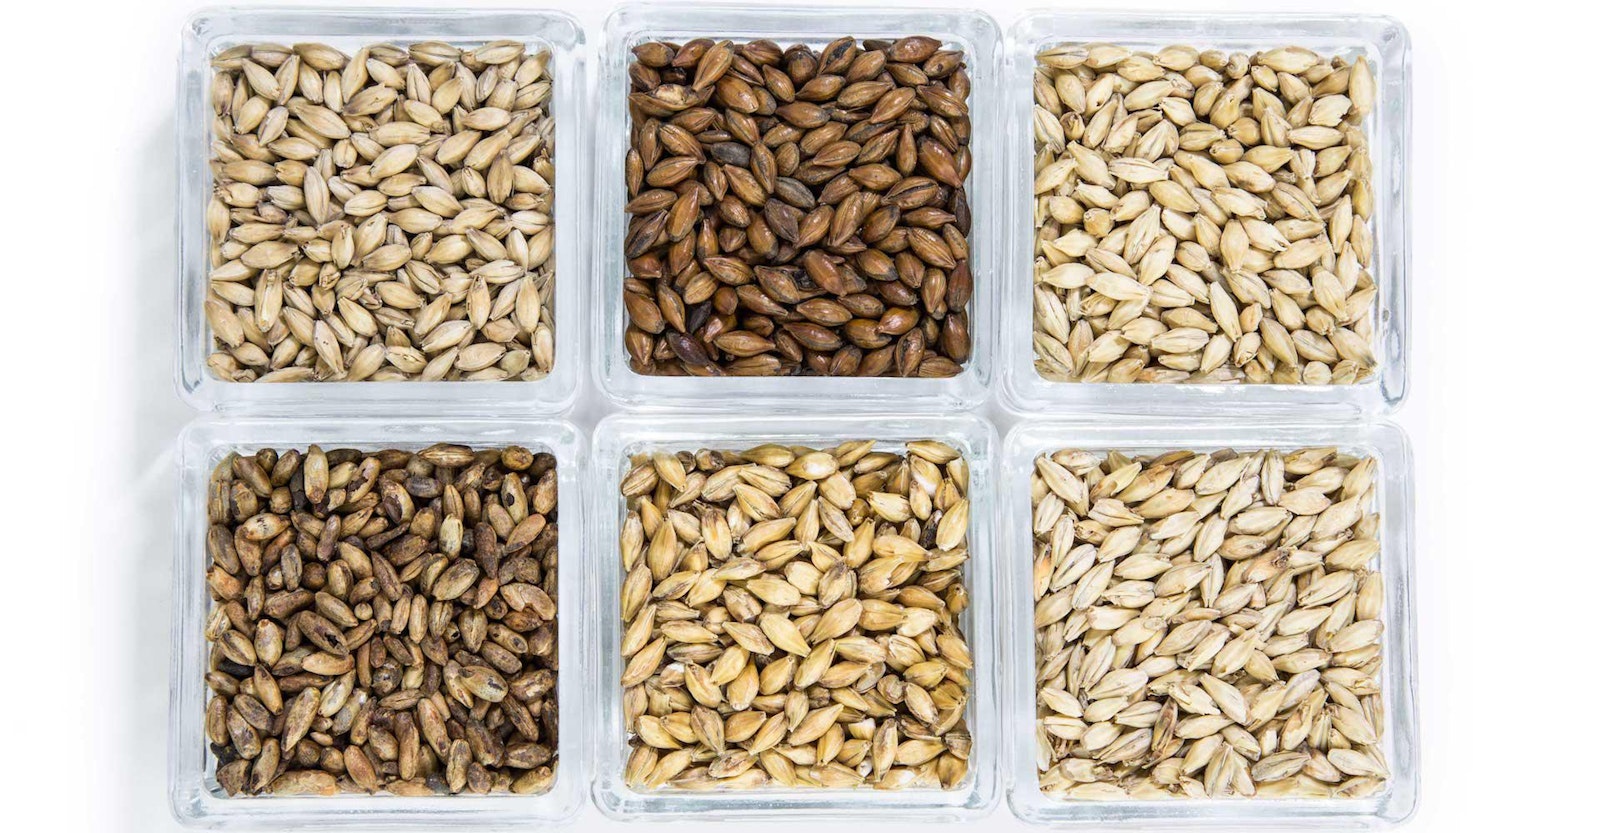
If you already grow your own hops and culture your own yeast, why not make your own malt? All you need is raw barley, water, time, and some TLC.
Raw barley (with husks) is available at feed stores and health food stores, but generic grain may not produce good malt. For best results, source your grain from a farmer who grows barley specifically for brewing.
Place the raw barley in a large bucket, then fill the bucket with enough cool water to submerge the kernels. Soak the kernels for eight hours. Spread the moist grains out to air-dry for eight hours, then soak them again for another eight hours.
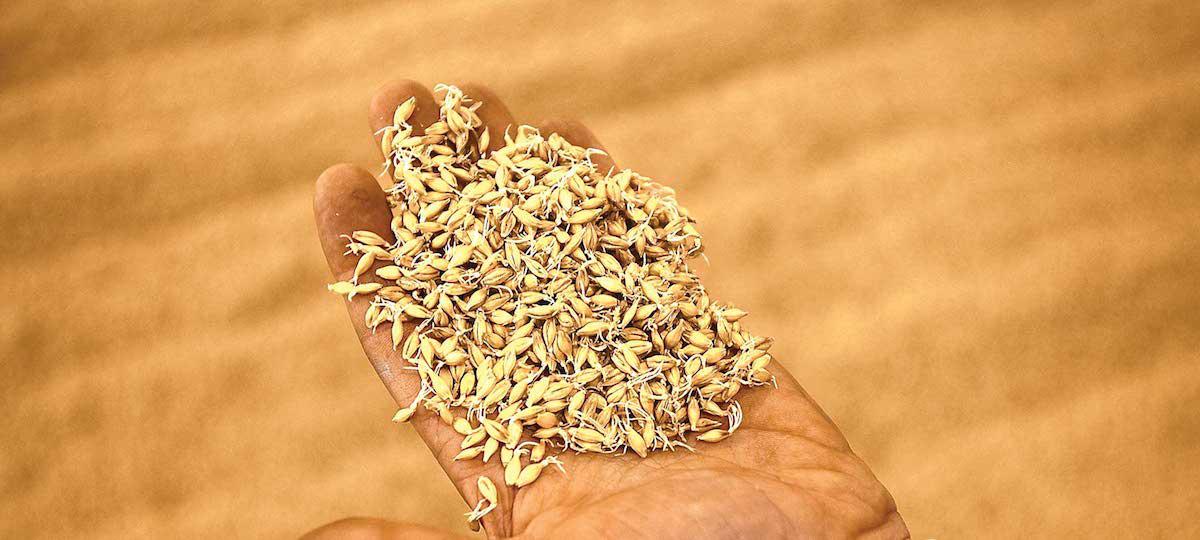
After the second soaking, chits (rootlets) should emerge from the kernels. Spread the sprouting barley in a cool (60°F/16°C) area and allow the grain to germinate. Every four to eight hours, turn the barley with your hands and spritz with water to aerate and cool the kernels as well as break up the mass of sprouts.
Each day, slice a couple of kernels lengthwise with a sharp knife and monitor the growth of the small white leaf inside, called the acrospire. When the acrospire is nearly the same length as the kernel itself—three to five days of germination—you have green malt.
In an oven, food dehydrator, or warm garage, dry the green malt at a temperature of 90–120°F (32–49°C) for twenty-four hours or more, or until the chits easily fall off. Agitate the grains outdoors on a screen to remove the dried, brittle chits.
Finally, kiln (heat) the malt anywhere from one to five hours at about 180°F (80°C) to produce a basic pale malt. Experiment with longer kilning or higher temperatures to create malts of different colors and flavors.
Treat your home malt as you would any base malt, keeping in mind that mash efficiency may be less than you achieve with commercial malt.