
Late addition hops are a crucial element of today’s IPA as brewers strive to capture more hops aroma and flavor without adding bitterness. But English breweries (and some brewers inspired by English brewing practices) have been using the hopback technique for ages, running wort from the kettle through a container filled with whole leaf hops. Devices (such as the Blichmann Engineering HopRocket) are now available to homebrewers, so we asked Taylor Caron to test how this technique compares to late kettle hops additions.
The Setup
There’s an old British brewing practice of running wort through leaf hops on the way from the kettle to the fermentor, using what’s known as a hopback. This can be done alongside or instead of a knockout addition to add a bold hops aroma and flavor to the wort. One belief is that if you move the hot wort quickly through the hops and then quickly chill the wort, you retain the hops’ aromatics better than if you just add hops to the kettle before chilling.
With this practice, there’s also the benefit that the hops themselves act as a filter for trub and kettle hops matter, sending a clearer wort into the fermentor.
We decided to test the actual effects on hops aroma and flavor by conducting a side-by-side comparison of Blichmann Engineering’s HopRocket and adding hops to the kettle immediately after the boil. Here is a quick overview of our process followed by more detailed step-by-step photos.
We boiled a 10-gallon batch of wort and ran half of the wort through the sanitized HopRocket loaded with 3 ounces of leaf hops. Rather than use a pump, we simply connected the kettle to the HopRocket inline and gravity-fed the wort into the HopRocket. It took about 12 minutes for us to transfer half the wort through the HopRocket and into another kettle where we chilled it with a copper immersion chiller. We left the other half of the wort in the kettle and added 3 ounces of leaf hops to it, letting those hops steep in the 190°F (88°C) hot wort for 12 minutes, then chilling with another immersion chiller. The wort heading out of the HopRocket was much clearer in the carboy than the second half of the wort, which we simply ran through a fine screen. This was not surprising.
HopRocket Test Protocol
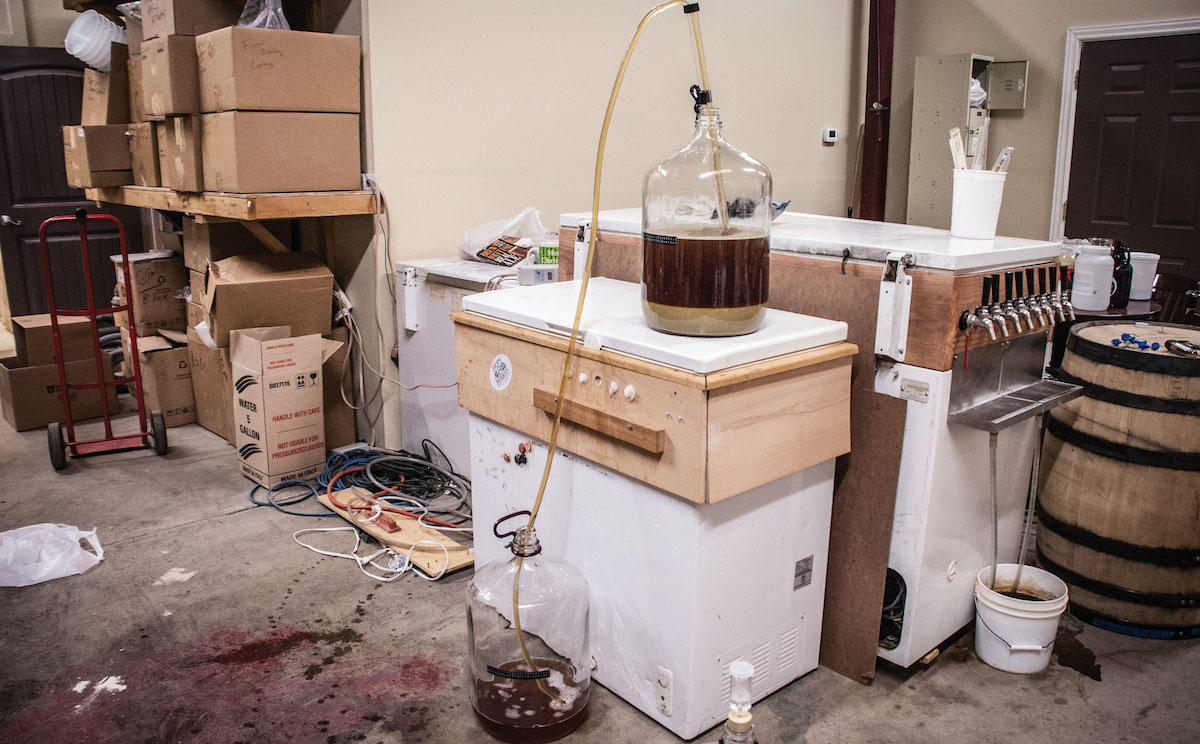
To test how the HopRocket hopback technique performed against a more typical knockout hops addition, we brewed a 10-gallon batch of India Pale Ale and split it between the two hops processes. At the end of the boil, we placed 3 ounces of hops in the HopRocket and gravity-fed the wort from our kettle, through the HopRocket, and into a pot for wort cooling (shown at top).
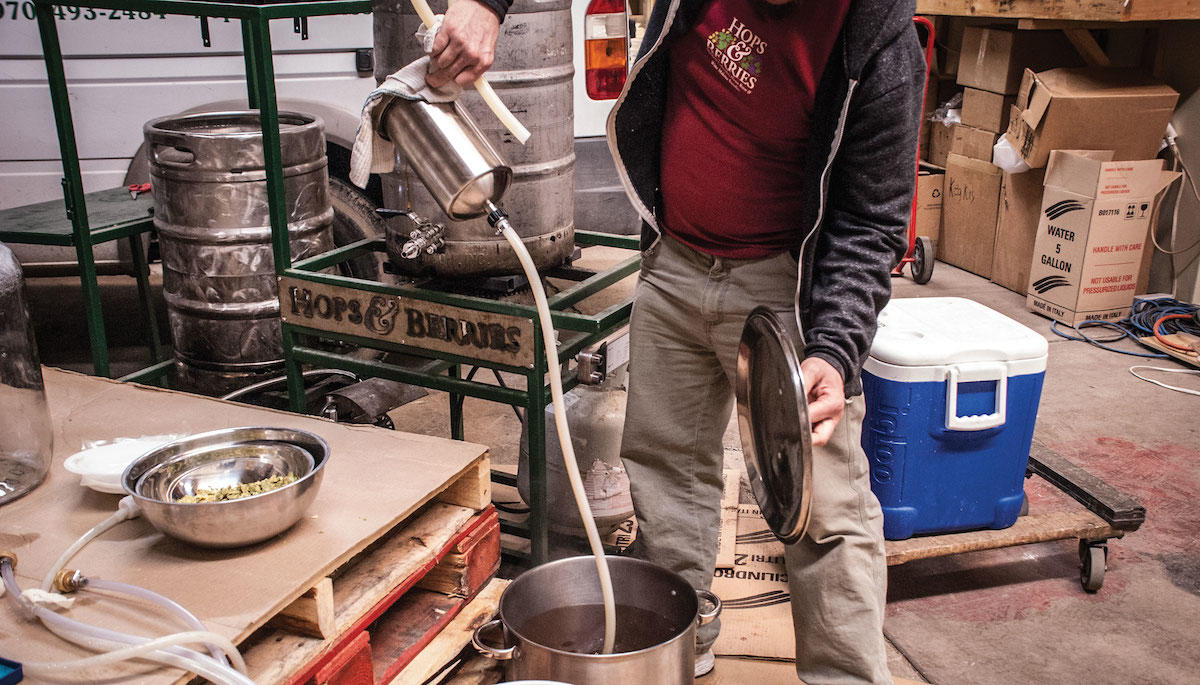
After running half our batch through the HopRocket (for about 12 minutes), we disconnected it, drained out any remaining wort, and added 3 ounces of identical hops straight into the kettle where they steeped for 12 minutes
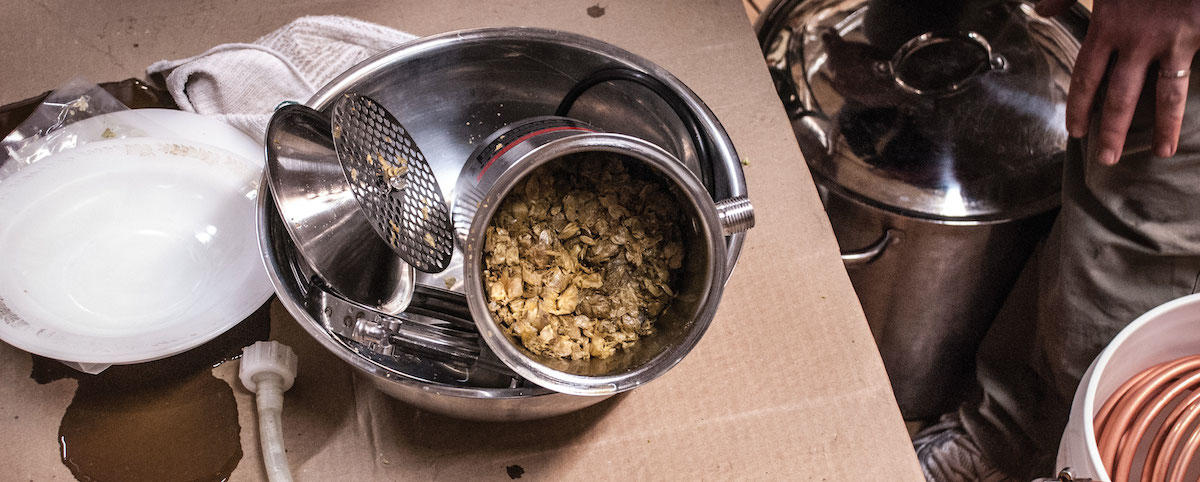
The spent hops in the HopRocket absorbed quite a bit of liquid.
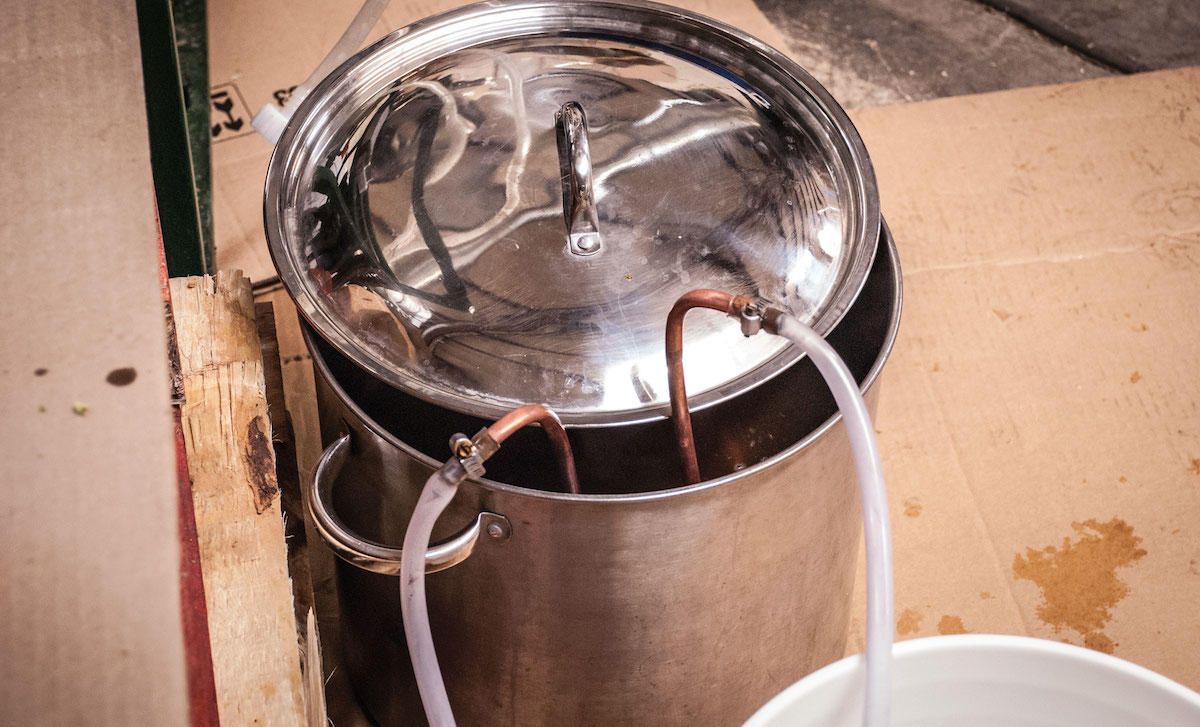
We chilled both batches with immersion chillers to maintain consistency between the two variations.
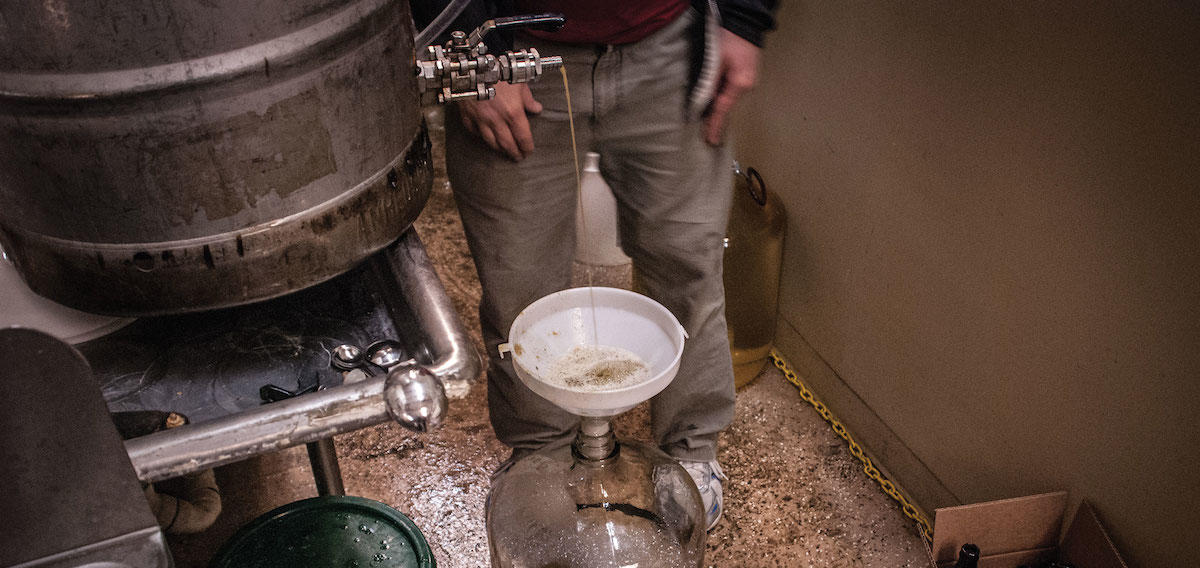
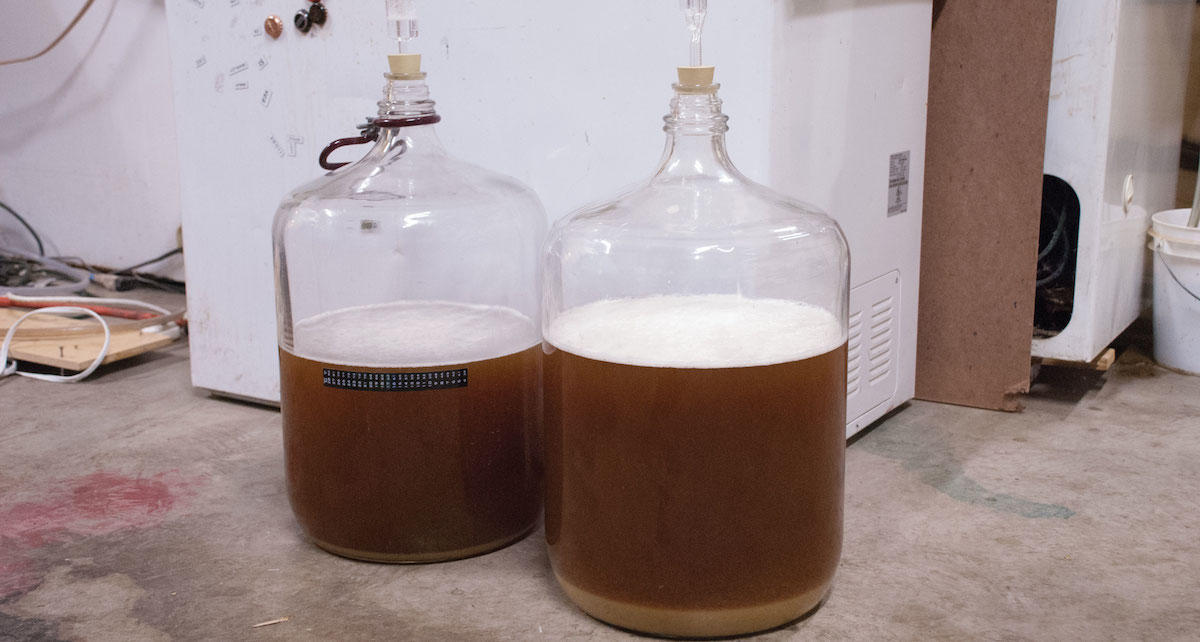
An American IPA-load of hops was too much for an easy runoff using this kettle with a simple copper pickup tube. The second half of the wort, with the full batch’s kettle hops and the additional three ounces of aroma hops, was painfully difficult to drain from the kettle. In the end, the spirit of homebrewing won out, and the wort got into the carboy via a somewhat clumsy scoop-and-strain technique.
The excessive amount of trub in the non-HopRocket version necessitated siphoning it into a second carboy before pitching the yeast.
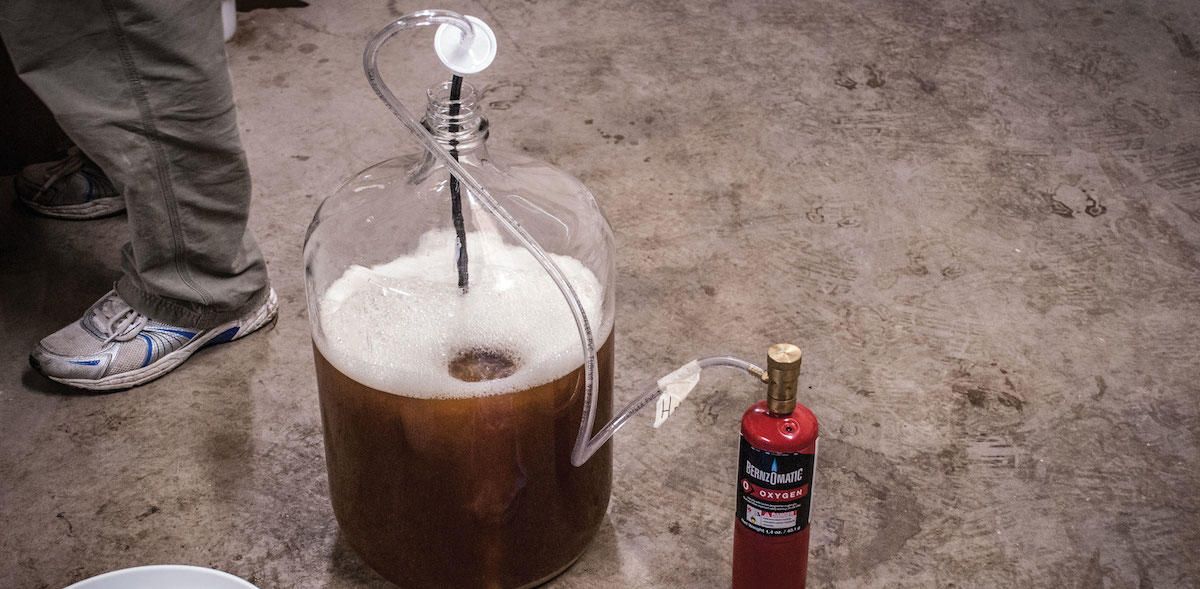
Pre-pitch oxygenation using a Benzomatic oxygen container.
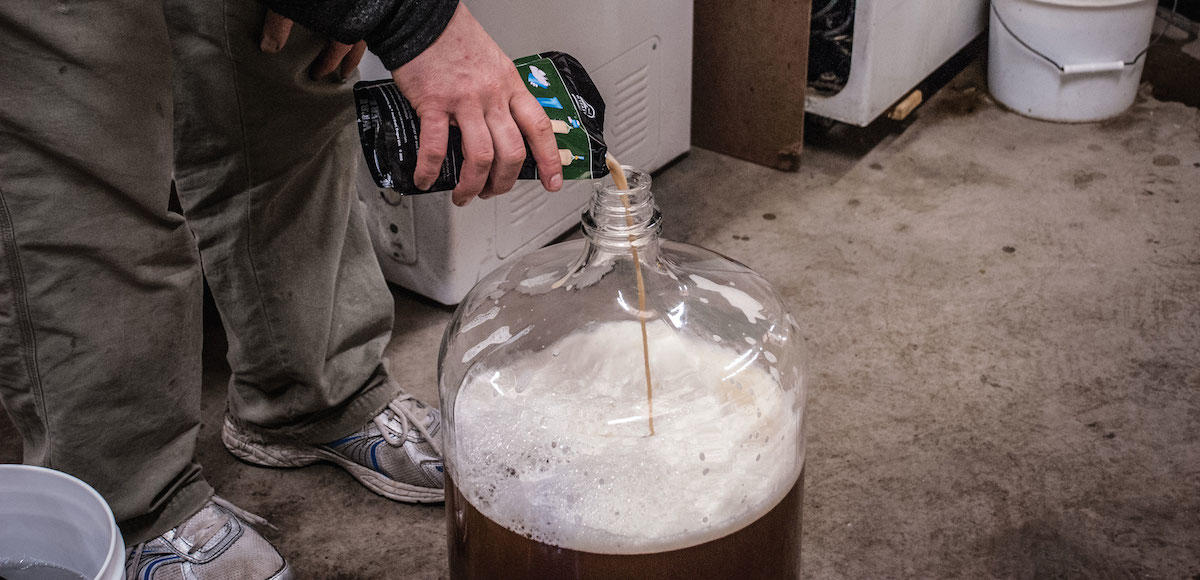
Pitching the yeast.
Due to absorption from the hops, we ended up with less wort than planned, but the difference was not large enough to affect our yeast pitch rate.
The Taste Test
A few weeks later, three of us sat down to compare the two versions next to each other. Both versions showed some definite hops haze, but the HopRocket sample was clearer. The two were served in slightly different glasses, so we could tell them apart, and that may have accounted for the apparent difference in clarity. We wondered whether the “raw” hops elements that come from the HopRocket are less prone to settling out, thereby mitigating the benefits of filtering the trub.
The difference in taste and mouthfeel between the two was really quite subtle. We found that the non-HopRocket version had a sharper bitterness; this was not undesirable, just a distinction. The version that went through the HopRocket had a cleaner, fresher, and crisper hops presence. This makes sense when we consider that the kettle hops had at least an extra 12 minutes of hot-side time, during which some isomerization (the process by which the nonsoluble hops resins become the bittering compound we know and love) would have occurred, even at sub-boil temperatures.
The HopRocket beer presented itself as a younger beer in general, whereas the other half had a slightly stronger yeast profile and stronger contrast of malt to hops. For what it’s worth, all three of us finished the HopRocket version before the non-HopRocket, but it could simply be that we are all right-handed, the HopRocket version was closer, and muscle memory took over. Who knows?
Overall, this was a really great IPA that we will make again, albeit with more homebrewer tinkering.
Conclusions
The HopRocket was very straightforward and easy to use and clean. We really liked seeing the trub left behind so effectively. Many brewers using a plate chiller find it difficult to keep hops pellet matter from clogging the chiller during runoff. The HopRocket would help immensely, assuming—of course—that the finished beer warrants late-hops character. Also, if a kettle has a hard time draining off of a massive hops load in general, the HopRocket is a good way to take the wort to the hops rather than vice versa. If bold hops aroma is something you want in your beer, the HopRocket is a great piece of gear to help you get there.
Product Information
Blichmann Engineering HopRocket™
Available at homebrew shops nationwide and worldwide.
More Ideas
We’re excited to try the HopRocket in other areas of the brewing process and have a number of additional tests in mind:
- Chill the wort first and then transfer to the carboy through the HopRocket to reduce potential isomerization (which can begin to occur at 150°F (65°C).
- Cycle the wort through the HopRocket during the boil to reduce the quantity of hops in the kettle itself, reducing trub but giving better hops utilization than a mesh hopback might.
- Run beer from the fermentor through the HopRocket (purge it with CO2 first) into the bottling bucket or keg to add last-minute hops aroma.