
As we get underway into the new brew year, I’m sure we can all attest to the fact that we are in a much different environment than in years past. The industry is up against several external pressures, with greater responsibility than ever before riding on the decisions we make. The beverages that brewers set out to create need to be creative, unique, cost-effective, and well-thought-out before the barley ever hits the mill.
But for some, it’s unrealistic to run elaborate trial brews and multiple pilot batches that are never meant to see the light of day. Breweries come in all shapes and sizes, and the reality is that for most, the idea of “just winging it” is as enticing as committing the resources to exhaust the endless combinations of base malts, specialty malts, and adjuncts. Given that, I argue that one of the most underutilized weapons in the brewer’s arsenal is the hot steep method.
Both simple and incredibly informative, the hot steep method is a tried-and-true process—developed by Briess and validated by the American Society of Brewing Chemists (ASBC)—to create “miniature mashes” that will help mimic the results of a scaled-up grist in a matter of minutes. Best of all, the initial cost for the equipment is low, the equipment is easily sourced, and the procedure is relatively rudimentary. This makes it a great practice for entry-level brewers and experts alike to help ensure your product is turning out as you anticipated, turn after turn. I’ll dive into the nitty gritty on the equipment required and the procedure below, but first, let's look at what we can and cannot expect out of this test.
We start by noting that the hot steep method is a “wort–sensory” test, similar in flavor to that of your preboil gatherings and far from resembling the cold beers we’re cracking open on the weekends with friends. Its purpose is to evaluate things such as color, aromatics, and the balance of flavors within our grist. It is not meant to guide decision-making relative to gravity, efficiencies, mouthfeel, or sweetness (we rely on a congress mash for that). Instead, the hot steep method is used to isolate individual malts and get a better understanding of what each malt brings to the table. From here, you can develop a palette of offerings that let you build your grist in a thoughtfully curated manner and take your recipe development to the next level.
It also serves the purpose of balancing out the flavors—to make sure we aren’t stealing the show with an overly powerful roasted malt or muddying the waters with a cloyingly sweet Munich. Using percentages, you can scale your grist down from your real-world application to gain an idea of how the malts will play off one another for flavor, aroma, and color.
Not developing any new recipes? No worries. The hot steep method also brings value to the brewers with more focus on consistency and those who are pumping out flagship brews day after day. Barley is an agricultural product and inherently undergoes natural fluctuation with each new crop. We can lean on the hot steep to set our expectations as we transition into new crop years and get ahead of any changes that might cause us to deviate from “true to brand.” Is the higher moisture crop yielding darker colors? Perhaps a change in varietal is presenting slightly grassy flavors? These scenarios are a great application of this basic level of sensory and can help keep your brewery ahead of things and adjust as needed. By staying informed on the blend with your malt supplier and using the hot steep method, you can apply some anecdotal sensory information to the data you’re presented with.
Now, let’s get into what’s required.
The Equipment and Ingredients
- Scale, capable of weighting 50+ grams (± 0.1 g)
- Filter paper (coffee filters work just fine)
- Insulated thermos, 24 oz (710 ml) minimum
- Tall, graduated cylinder, 500 ml
- Electric kettle with digital read-out, capable of heating water to 149°F (65°C)
- Collection vessel, 600 ml
- Coffee grinder (use only for milling your malt samples)
- Funnel
- Timer
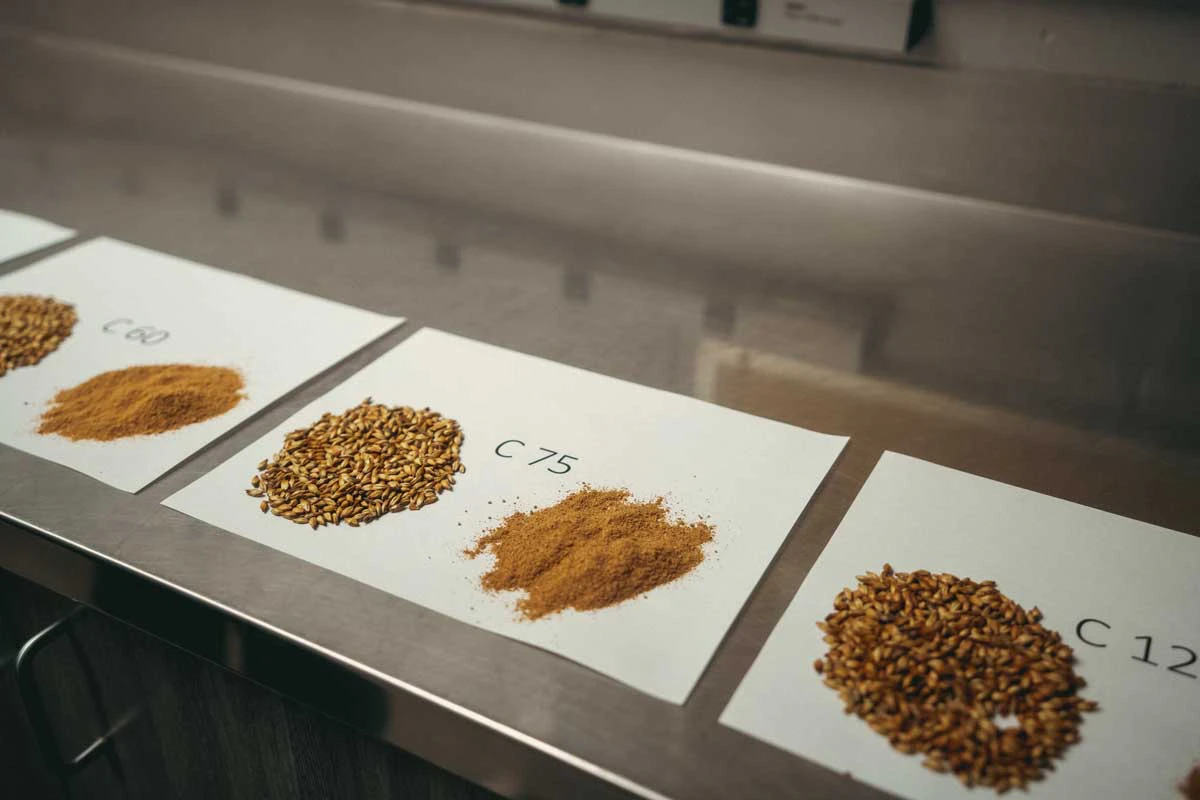
- 50 g malt (see note below on malt choice)
- 400 ml distilled water, heated to 149°F (65°C)
The Process
- In the coffee grinder, mill your malts to a “coarse flour,” or slightly more aggressively than you mill your normal grist for everyday brewing.
- In the thermos, combine the 50 g of milled malt with 400 ml of distilled water, heated to 149°F (65°C).
- Shake the thermos for 20 seconds to thoroughly mix.
- Set the thermos down and let the mixture rest for 15 minutes.
- After 15 minutes, shake again for 20 seconds. After the second shake, pour the mixture into the funnel lined with filter paper, set atop the 600 ml collection vessel.
- Collect the first 100 ml of liquid and pour it back into the thermos. Swirl around to clear out any remaining particulate and repour onto the grain bed.
- Continue collecting run off until you’ve collected 200 ml of wort.
- Perform sensory evaluation on the collected wort.

As you can see, this process is straightforward, and for an investment of less than $100, you’re on your way to making a more thoughtful decision about those seasonal recipes or core beers coming to your line-up. The one variation in the process is dependent on the malt you’re analyzing. For a truer experience, follow these guidelines:
- For base malts alone, use 100 percent in the 50-gram sample.
- For lighter specialty malts, use 50 percent base malt and 50 percent specialty malt being analyzed (25 g/25 g)
- For darker specialty malts, use about 85 percent base malt and 15 percent specialty malt being analyzed (42 g/8 g)
Sensory Evaluation
Once the sample is collected, it’s important to evaluate it with your designated sensory panelists using a standardized format to make the most of the information you’re gathering. It’s best to run tests within 4 hours of the hot steep, providing and sticking to an established “lexicon” with your group so that you’re all using similar descriptors when tasting. (While it’s great that the honey malt might taste like your grandmother’s cookies, I have never had the luxury of having them, unfortunately; thus, that feedback wouldn’t be valuable to me.)
Also, be sure to have your panelists keep their thoughts to themselves for the first few moments, writing them down instead of shouting them out, before sharing with the group. The power of persuasion is a real thing, and sharing sensory information out loud can sway decision-making for others, skewing the results. At the end of the day, the goal is to establish a few key descriptors of the malts and lean on those down the road when formulating your beers.
I'll be honest: It wasn't until later in my brewing career that I truly understood the value of the hot steep method. And I’m not here to act like I was some perfect brewer who carefully analyzed every step and never made mistakes. Trust me, I made plenty! There were IPAs that were so sweet they could have passed for Scotch ales and stouts that ended up tasting more like a cigar lounge than a beer. But those missteps in recipe creation are what ultimately helped me appreciate processes such as this one.
With the brewing world getting more competitive every day and the standards constantly rising, I hope you can use this insight to craft your next standout recipe!
About the Author
Currently residing in Troy, New York, Patrick Sylvester is the New England territory manager for Country Malt and covers Connecticut, New Hampshire, Vermont, Rhode Island, Massachusetts, and Maine. He has been brewing for the past 10 years, the majority of that as head brewer for some regional Hudson Valley breweries (Keegan Ales, Crossroads). His background is in production brewing, with a fiscal mindset and a strong focus on efficiencies throughout the brewhouse. If Patrick is not working the territory, he can typically be found drinking a lager in his backyard with his dogs Frank and Ellie.