
Instinct must be thwarted just as one prunes the branches of a tree so that it will grow better.
— Henri Matisse
———
You will very likely go mad during your first beer’s fermentation, the fifth essential step in brewing beer. Don’t feel bad if you do: It happens to all of us.
You will probably wonder whether you did something wrong if the airlock doesn’t commence bubbling within a few hours of your having pitched yeast. Or you might open the lid after a week, find yourself horrified at the ring of goop lining the fermentor, and wonder if your beer has become infected.
There’s a reason that Charlie Papazian, author of The Complete Joy of Homebrewing, instructs readers, “Relax. Don’t worry. Have a homebrew (RDWHAHB).” All of your instincts are to become alarmed and anxious, but part of the journey that is homebrewing is heeding the advice of such legends as Papazian and Matisse.
Ignore your instincts. Resist the urge to obsess over your fermenting beer. There’s virtually nothing you can do about it once fermentation starts anyway, aside from a few minor tweaks that may or may not do much. So try not to think about it.
But before you can not think about it, you need to add some yeast.
Adding Oxygen
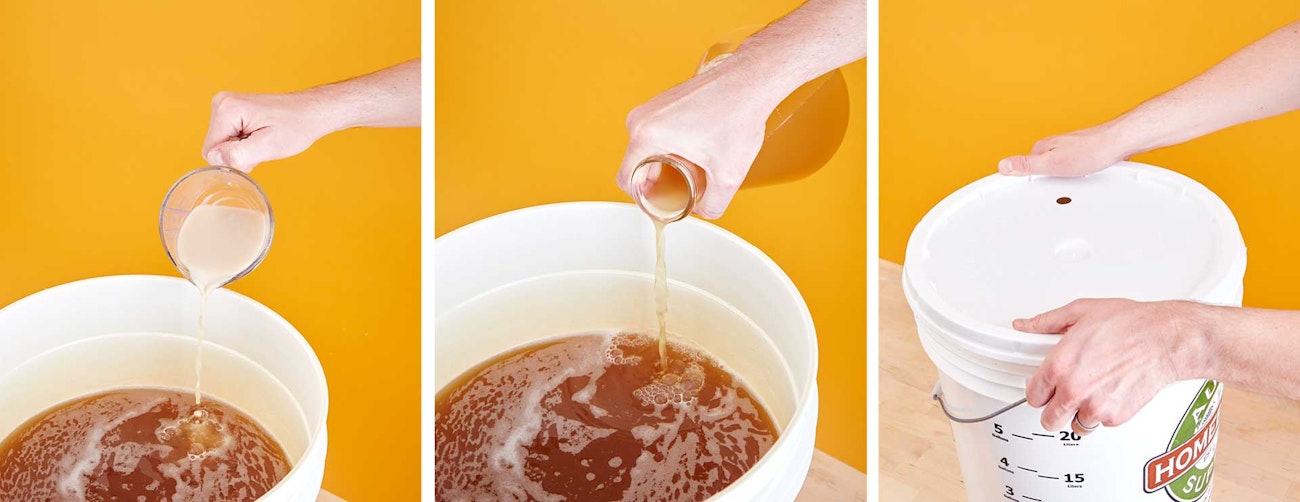
Oxygen is a critical component of yeast health, but when we boil wort, oxygen is carried away on wafting water vapor. Thus, when preparing to add yeast to freshly boiled and cooled wort, it’s a good idea to add oxygen back in.
The pros use inline systems that let them measure exactly how many parts per million (ppm) of pure oxygen they inject into wort as it passes from boil kettle to fermentor. Few homebrewers bother to go to quite that level of trouble, although many of us do use a pure oxygen supply to deliver oxygen by way of a stainless-steel diffusion stone.
Wyeast Laboratories has conducted research indicating that shaking your full fermentor for 40 seconds introduces about 8 ppm of dissolved oxygen (wyeastlab.com/hb_oxygenation.cfm/). That’s a little shy of the recommended 10 ppm, but for most of us brewing average-strength ales, it works pretty well. If you get into high-gravity ales and moderate-to-high gravity lagers, then you might want to consider buying a 0.5-micron stone and an oxygen system. But when you’re just starting out, you’ll be fine if you just shake and splash as much as you can.
Note that dry yeast includes everything it needs to reproduce as part of the drying process, so you only need add oxygen to wort if using liquid yeast. But you won’t hurt anything if you do oxygenate all of your wort, and sometimes I still oxygenate when using dry yeast just as a matter of habit. Once it becomes part of your brew-day process, it just feels natural.
Pitching Yeast
After wort has been oxygenated, it’s time to pitch, or add, the yeast. There’s nothing punctilious about this, but feel free to make it into a production if you like, especially if it’s your first time. In Chapter 12, we discuss the mechanics of preparing the yeast or a yeast starter.
With yeast added, you simply close up your fermentor by closing the lid if it’s a bucket or securing the stopper if it’s a carboy and then attaching an airlock. Place your fermentor in a dark, cool spot where it’s unlikely to see the light of day. If light is a potential issue and you’re fermenting in a glass carboy, cover it with a towel or even a black trash bag to keep light from degrading the precious hops within.
Temperature Control
Beginner brewers don’t often consider temperature control until they want to brew up a lager (See “Ale and Lager: Two Members of the Same Family,” at left), but temperature control is one of the most important things you can do to turn good wort into great beer, ale and lager alike.
For most ale strains, fermentation should take place at around 65–70°F (18–21°C). Generally speaking, it’s a good idea to start fermentation on the low end of the range and let the fermentor gradually warm to the upper end of the range as it nears completion. In practice, this is hard to do without precise temperature control.
Beginner brewers will do just fine by selecting a reliably cool spot in the house. Basements, closets, pantries, and crawl spaces are all good candidates. If you have central heat and enough space, consider closing the vents to your guest bedroom and fermenting in there.
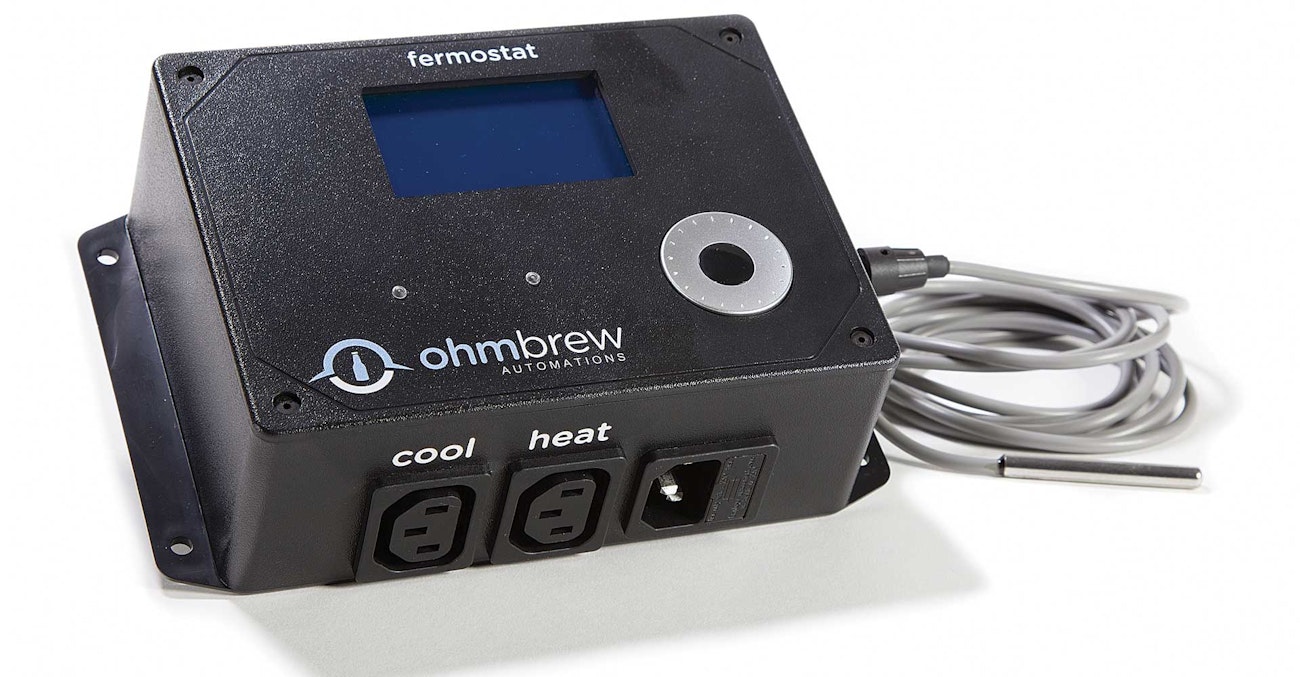
Eventually, you might consider repurposing an old refrigerator or freezer and overriding the internal thermostat with a special temperature controller that lets you specify the exact temperature you want. Basic controllers have become quite affordable in the last decade or so, and many higher-end models (like the one pictured below) even let you program in a custom temperature program that changes by the day, or even the hour if you want that level of detail.
Letting It Go
The most difficult part of fermentation is likely to be suppressing your natural inclination to check on things and verify that all is well. By all means, kneel down and sniff the airlock as it bubbles. Every homebrewer does this for every batch of beer.
But do leave your escapades at that. Once active fermentation is underway, there’s very little you can do, and any action you choose to take is only likely to make things worse and cause you even more stress. So do as Charlie does, and RDWHAHB. Or at the very least have a great craft beer.
Moving On
Like adolescence, fermentation is a confusing time during which you may feel urges to act impulsively and irresponsibly. Try to settle down and enjoy the ride. Unlike adolescence, fermentation lasts just a week or two, after which time you can enjoy a drink without having to sneak it from your parents’ liquor cabinet.
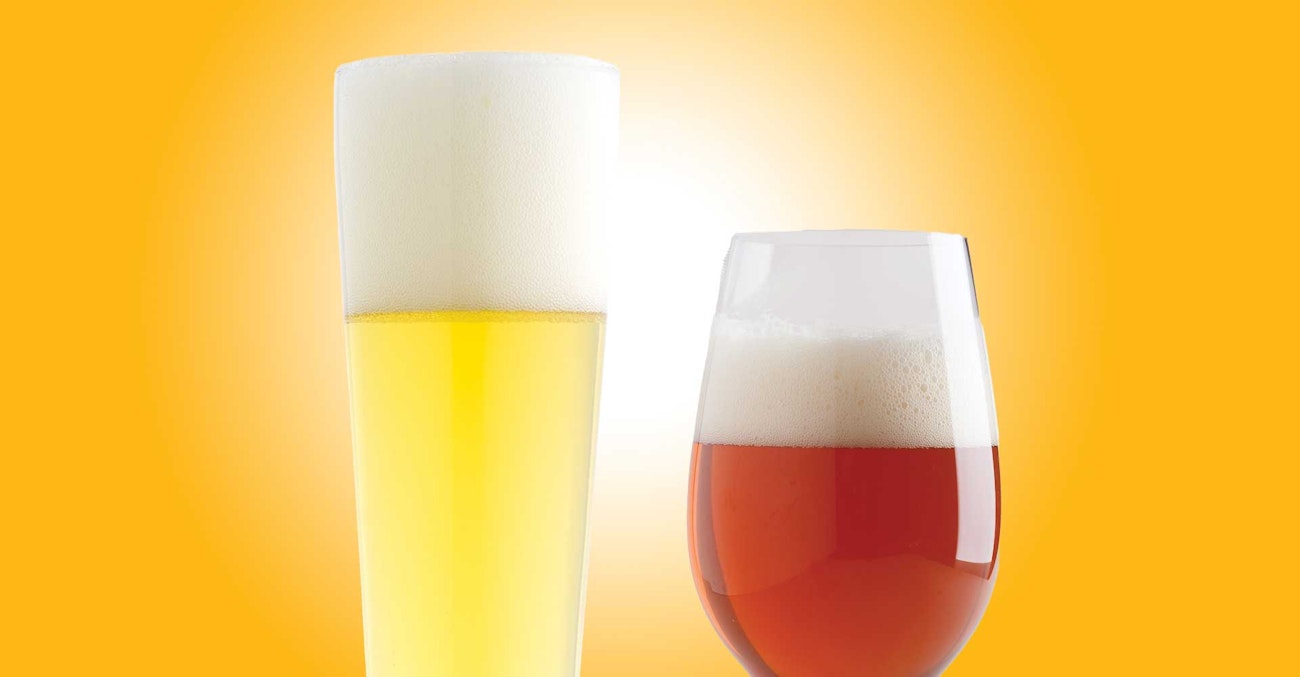
Ale and Lager: Two Members of the Same Family
Veteran brewers sometimes avoid the ale-versus-lager conversation when talking to beginners, or they give it only passing mention, as if it’s the zymurgical equivalent of sitting down with your parents for the birds-and-the-bees talk. “Yes, we’ll talk about lager,” they say. “But let’s wait until you’re old enough. Until then, here’s an informative brochure.”
Poppycock. If you can brew ale, you can brew lager. I would argue that for most homebrewers, brewing lager from extract is easier and more straightforward than brewing ale entirely from grain. The equipment requirements are modest, and you open up a whole family of beer styles that would otherwise be inaccessible. And yes, it’s no secret that I am a little partial to lagers.
I’m not suggesting you should attempt a Czech-style Pilsner as your first homebrew. But if Czech-style Pilsner is your favorite style, and that’s really what you want to brew, why not? My third homebrew was a Bavarian-style Helles (one of my favorite styles), and I rather enjoyed it. It wasn’t the best beer I’ve ever brewed, but it certainly wasn’t the worst.
Brewing ale and brewing lager are, indeed, different, but the differences are not as stark as you might think. Ales ferment at or near room temperature, while lagers ferment about 20°F (11°C) cooler than that. That’s the big secret. Yes, lagers traditionally spend a few weeks at near-freezing temperatures after fermentation, but this practice improves ales as well. Time can heal many wounds, whether those wounds are inflicted at room temperature or in sweater weather.
All you really need to brew lager is a location that is somewhere in the range of 45–55°F (7–13°C) and a healthy population of lager yeast. Some brewers use a basement or garage in the winter. Others use a temperature-control device to override the internal thermostat of an old chest freezer or refrigerator. I’ve even used a room in my house that doesn’t quite get enough heat.
If you do choose to ferment your wort with a lager strain of yeast instead of an ale strain (and that’s really about all it takes), then just make sure to use twice as much yeast as you normally would and expect fermentation to take close to 2 weeks. If possible, try to increase the temperature of your fermenting lager around day 9 or 10 for a so-called diacetyl rest, which just revs up yeast metabolism a bit so the yeast cells clean up after themselves.
Once fermentation is over, transfer your lager to another vessel, such as a glass carboy, and allow it to rest at about 35°F (2°C) for at least 4 weeks. I usually count on 1 week for every 10 points of original gravity, so 4 weeks for 1.040, 6 weeks for 1.060, and so on. Then prime, bottle, and condition as you would any other beer.
Oh, and don’t be surprised when your lager fermentation makes the room smell like sulfur. I fermented that first Helles in the garage, and my car smelled of rotten eggs for the better part of a week.
This is an excerpt from our Illustrated Guide to Homebrewing by Dave Carpenter. Want to read the whole thing? Download it here.