This suspense is terrible. I hope it will last.
— Gwendolen Fairfax in Oscar Wilde’s The Importance of Being Earnest
———
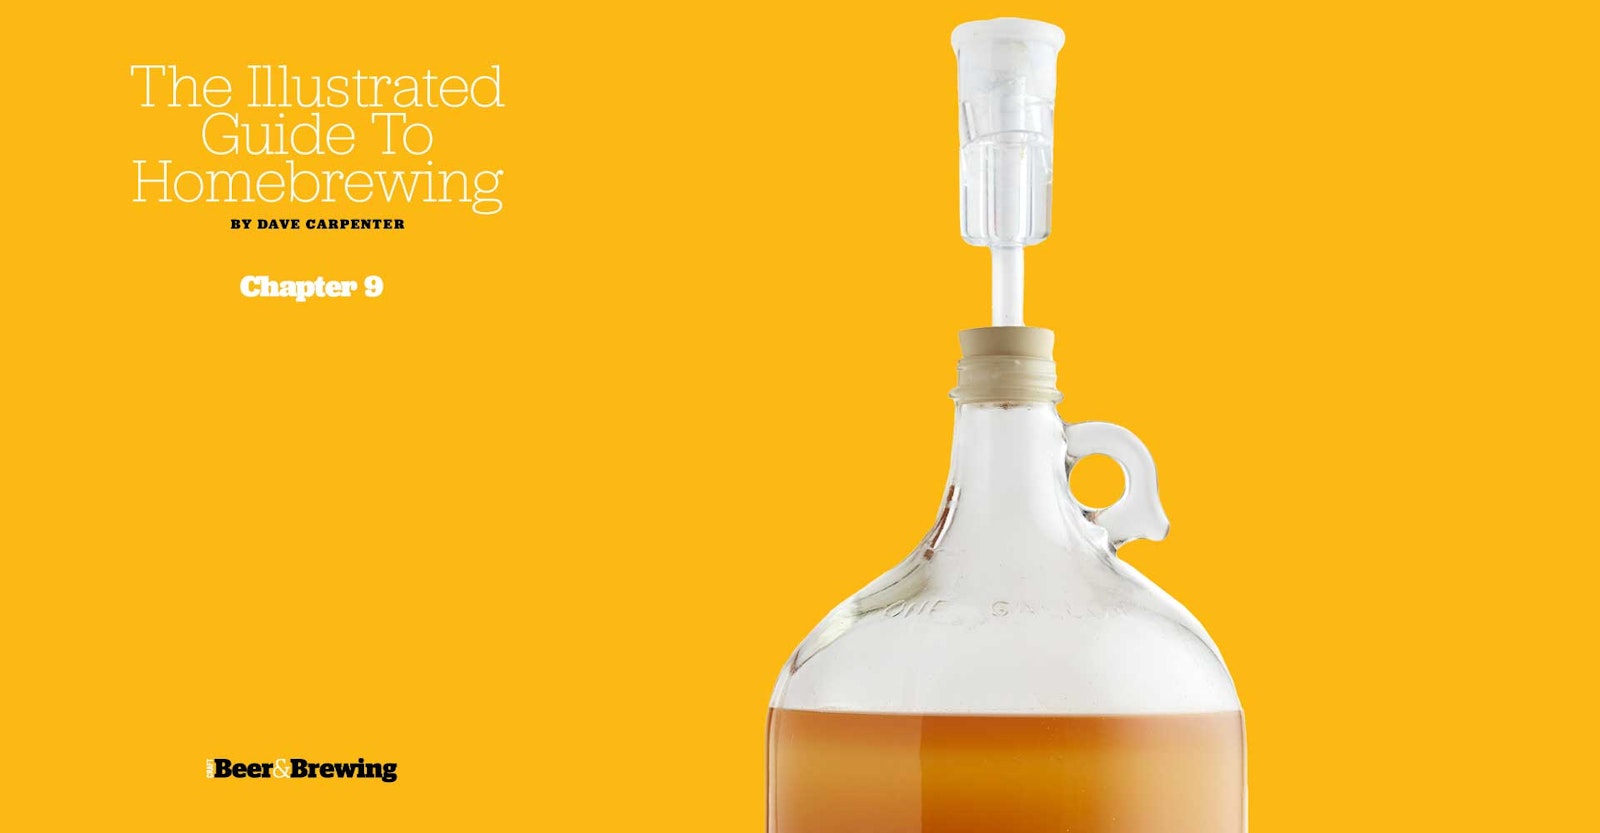
Wine. Cheese. Dame Helen Mirren. Some things just get better with age. And beer is no different—up to a point, anyway. All beer needs a period of time during which rough edges can smooth, flavors can meld, and yeast cells can clean up after themselves. Maturation, the sixth essential step in brewing beer, is as critical a phase as fermentation itself, and it can be as bearable as a couple of days or as insufferable as a couple of years.
For beginner and veteran brewers alike, waiting doesn’t come naturally. You want to try your homebrew, and you want to try it now. Generally speaking, the stronger the beer, the longer you’ll have to wait to taste it. Fortunately, most average ales need only a couple of weeks, which is one reason I advise beginners to brew something simple the first few times out.
I’ve found it helps to buy a 6-pack, 12-pack, case, or keg—whatever you need—of a commercial beer that’s in the same style as the homebrew you’re currently maturing. Each time you crack open that Sierra Nevada Pale Ale, Oskar Blues Old Chub, Bell’s Two Hearted Ale, or Big Sky Moose Drool, you can close your eyes, take a long sip, and imagine what it will be like in a few days or weeks when you finally get to taste your own fermented wonder.
The maturation period is also the time to introduce additions such as dry hops, fruit, chiles, or oak. And once the waiting period is over, it’s on to packaging, the final step in moving your homebrewed beer from grain to glass.
When Does Fermentation End and Maturation Begin?
The only way to know that your beer is ready for maturation is to measure the specific gravity, which is an indirect indicator of density, and thus, how much of the available sugar in the original wort has been consumed by the yeast. This number steadily drops during fermentation and eventually reaches a steady final gravity (FG). Typical final-gravity readings for a few styles are given in the table below.
After three gravity readings on consecutive days yield the same specific gravity at or near the expected final gravity, your beer has passed out of fermentation and into maturation. The maturation phase is known by many names, including conditioning and secondary fermentation. As I mention in the first chapter, I have no love for the term secondary fermentation because, usually, little to no fermentation occurs. I much prefer maturation or conditioning, which more precisely describes the purpose of this period.

To Rack or Not to Rack
Some brewing guides insist that you should move fresh beer to a secondary container, such as a 5-gallon (19-liter) carboy soon after fermentation subsides to get the beer away from the large cake of yeast that flocculates to the bottom. Growing numbers of modern homebrewers, however, eschew the secondary fermentor altogether and feel that some further contact with the yeast promotes a smoother, less rough product in the end.
This is one of those things you’ll have to decide for yourself. I recommend trying both approaches and seeing which you prefer. My approach is not to rack anything that I intend to package within a month: These beers don’t need much aging and can go straight from the fermentor to bottles or kegs. You can safely leave beer on top of the yeast for at least a month without risking off-flavors, so long as storage conditions remain relatively cool.
Although I’ve found that most beer can remain in contact with the yeast cake for well beyond a month, I usually rack anything that needs to undergo extended aging. This is as much about freeing up space in my fermentors as it is about removing it from trub, to be honest. But it is true that yeast eventually dies, and when it does, it can self-consume, or autolyze. Autolysis can lend some unfavorable flavors to your homebrew, including a soy sauce–like umami character that can actually work in certain very dark styles. It is, in most cases, however, undesirable.
The table below compares some of the pros and cons of racking versus simply leaving your beer in the fermentor.

Dry Hops, Wood, and Other Additions
You will almost definitely want to rack your beer to a secondary vessel if you want to make any additions during maturation. There’s nothing stopping you from adding these sorts of things to the primary, but it’s usually cleaner and more convenient to have a separate vessel for additions. Certainly anything you intend to age for months should be racked to a secondary.
Dry Hops
Dry hops are added after fermentation has finished, and they deliver that unmistakably fresh punch of hops aroma that defines today’s hoppiest styles such as double IPA. Alcohol is an excellent solvent and effectively extracts precious hops oils. As it happens, carbon dioxide is also an excellent solvent, so dry hopping is one way to reintroduce aromas that may have been driven away during the turbulent fermentation process.
Add dry hops to fermented beer and remove after a week of contact. There’s virtually no benefit to leaving the hops longer, and you run the risk of introducing an inappropriate vegetal character. Some brewers simply dump dry hops right in, but I prefer to bundle them in a sanitized nylon mesh bag to make removal a cinch.
Note that because of their antimicrobial properties, there is no need to sanitize dry hops. Just add them to your fermented beer and get on with your life.
Wood
Wood aging, most commonly with oak, can impart some unique flavors to your homebrew, including
- Vanilla
- Butterscotch
- Caramel
- Toffee
- Tannins
- Coconut
- Chocolate
- Coffee
Products such as wood chips, cubes, and spirals deliver the character of an oak barrel in a convenient, easy-to-handle package. Soaking those chips, cubes, and spirals in spirits or wine before adding them to your beer can introduce even more powerful flavors and aromas, such as the vanilla and butterscotch notes we expect from a bourbon barrel–aged stout.
Soak oak products in spirits for a week or two before adding them to your beer. The alcohol in the spirits will sanitize the oak. If, however, you don’t want to introduce spirits character, consider boiling oak products for a few minutes to sanitize. This also removes some of the harsher tannic components that you may not want to include in your beer.
Fruit
As I mentioned before, it seems as if just about every possible type of fruit has found its way into beer at one point or another. Fruit flavors and aromas can be the star of the show, as they are in many American wheat beers, or they can subtly complement the hops and yeast-derived phenols of a Belgian ale. And what stout lover wouldn’t enjoy the rich decadence of dark cherries in a Russian imperial stout?
When you add fruit to your maturing beer, some of the natural sugars may actually prompt a true second fermentation (in this case, the term secondary fermentation is completely appropriate) as the delicate fruity aromas and flavors are imparted. Fruit may be added as a fresh, frozen, or pureed product. Avoid fruit extracts, however, which often have a character reminiscent of cough syrup.
Fresh fruit should be frozen before use to sanitize it. Bagged frozen fruit and canned purees from the supermarket can be used directly from their packaging.
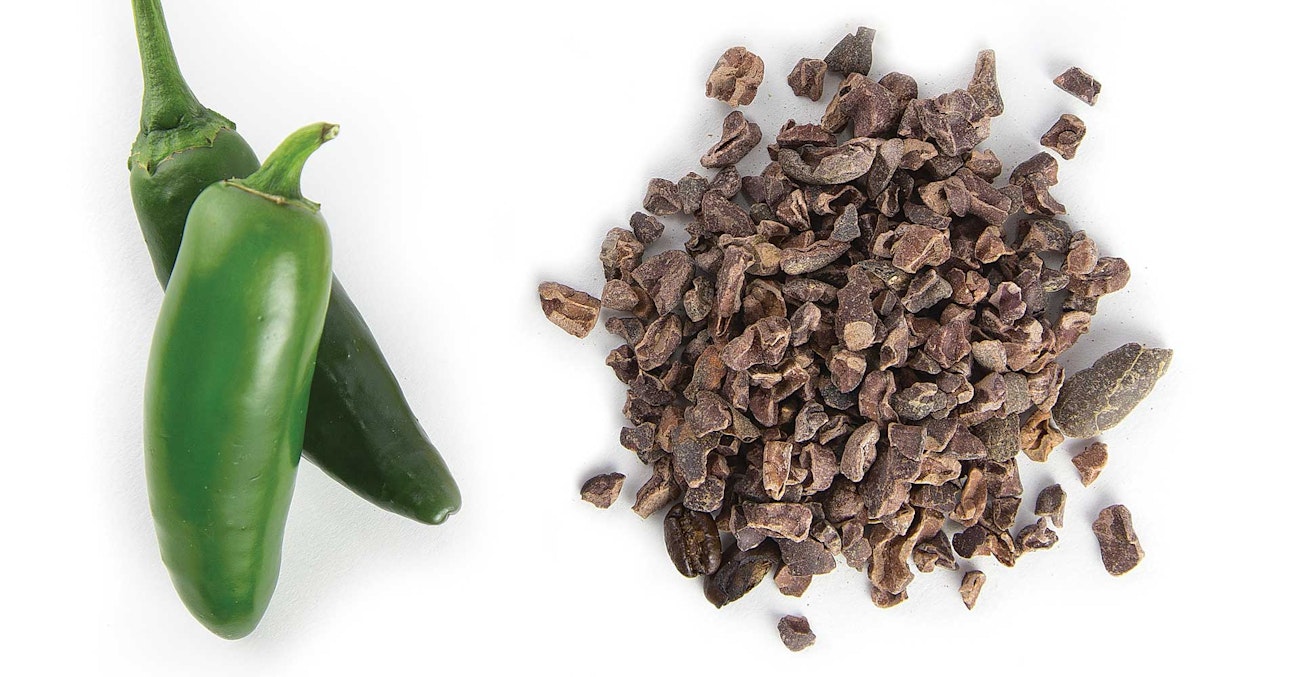
Chiles
You might automatically think of heat when you consider chiles, but the best chile beers feature a robust chile flavor, sometimes fiery, sometimes mild. Roasting chiles introduces an additional level of earthy complexity: If you’ve ever had a fresh green-chile beer in New Mexico, you know how addictive such examples can be.
Both fresh and dried chiles can be successfully added to beer. Introduce them about a week before packaging and then remove, but let your taste buds be your ultimate guide. As with fruit, it’s best to freeze fresh chiles before adding to sanitize. Dried chiles may be soaked in a small amount of vodka and then added to the beer.
Chocolate
Chocolate adds wonderful complexity to beer and is especially at home in dark styles such as stout and porter. Cacao nibs are the most suitable type of chocolate to add to secondary because they contain little head-destroying fat. Soak them in a little vodka for a couple of days and then add to your beer.
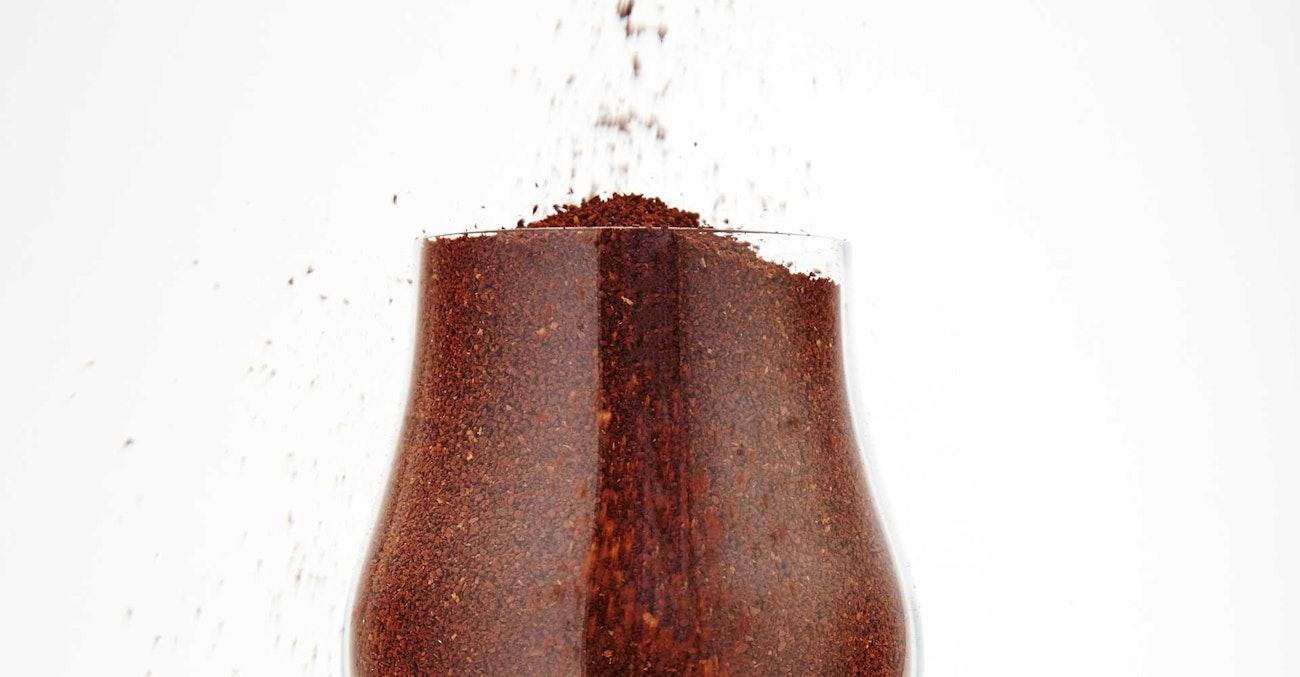
Coffee
Coffee is a natural complement to porters and stouts, but it works surprisingly well in pale styles as well. Like hops, coffee offers bitterness, flavor, and, aroma. Most of the time, you’re probably after the latter two, but in some cases coffee bitterness can lend balance to an otherwise too-sweet beer. Freshly brewed and cooled or cold-brewed coffee can be added straight to the secondary fermentor. Cracked (not finely ground) coffee beans can be used similarly but should be removed before packaging.
You’ll come across various theories about the best way to add coffee and whether it should be sanitized. If using cracked coffee beans, soaking in vodka is an effective way to sanitize. I personally prefer to use straight espresso shots or a French press preparation that I whip up right before bottling. I’m willing to accept the very small risk of contamination in exchange for the incredibly rich coffee flavor that such methods produce. Keep in mind that the alcohol and hops in fermented beer make it much less vulnerable to infection than unfermented wort.
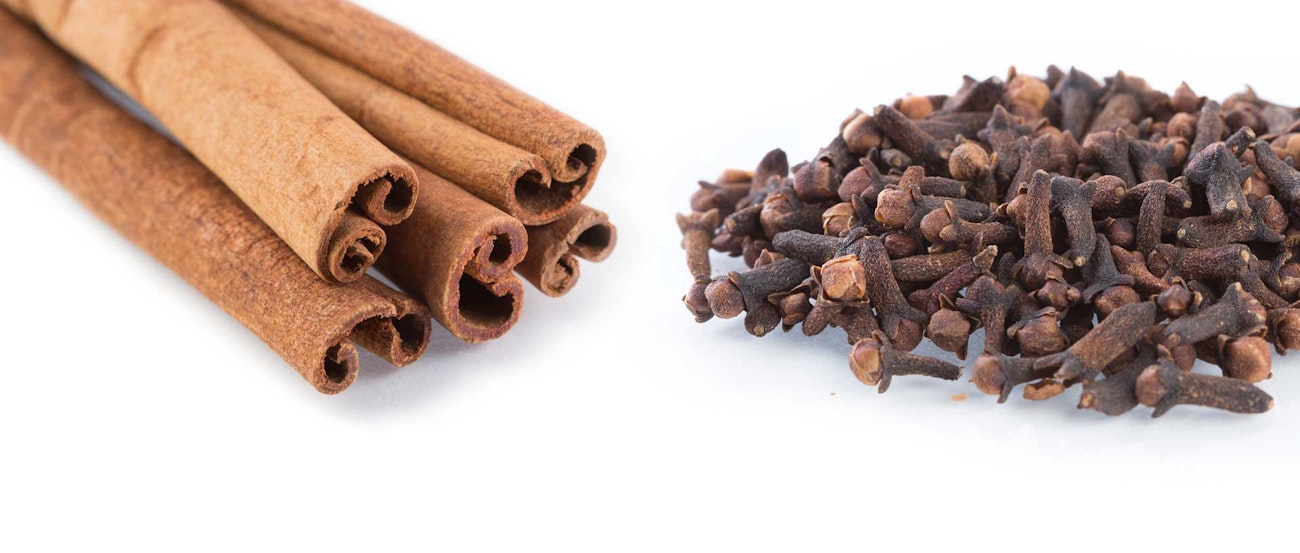
Spices
Spices are the non-leafy portions of plants and can include berries, seeds, roots, and bark. They should be as fresh as possible and freshly ground. A great tool to keep around is an inexpensive “whirlybird” type coffee grinder. Use it exclusively for your spices because coffee oils are hard to remove. Your spice options are almost limitless. Commonly used varieties include:
- Cardamom
- Caraway
- Chicory
- Cinnamon
- Cloves
- Coriander
- Ginger
- Grains of paradise
- Juniper berries
- Kaffir lime leaves
- Lavender
- Lemongrass
- Lemon verbena
- Licorice
- Nutmeg
- Peppercorns
- Peppermint
- Spearmint
- Star anise
- Woodruff
- Wormwood
As with other additions, you may choose to sanitize spices by soaking in a little vodka, or you can simply add them as they are.
Moving On
The conditioning phase is an important one. Not only does it give your beer time to mellow before packaging, but it’s also an opportunity to infuse the beer with additional character from coffee, spices, fruit, oak, and other products. Once your beer has completed its maturations phase, it’s time to package it. For many homebrewers, especially beginners, that means bottling.
This is an excerpt from our Illustrated Guide to Homebrewing by Dave Carpenter. Want to read the whole thing? Download it here.