Don’t take your yeast for granted. Pouring it out with the trub when your beer has finished fermenting wastes a valuable resource. If you brew on a relatively regular basis, you won’t need to buy a new package every time. Reusing yeast will save you a few bucks, but the greater advantage is that you can jumpstart the next batch with a much larger pitching volume.
There are two main methods for collecting yeast for reuse, depending on whether you pull it from the secondary fermentor or the primary. Each has its advantages, offering a trade-off between simplicity and predictability, with neither choice being wrong. Convenience can also factor into your decision, depending on when you’ll be ready to brew and how soon you want to use this same yeast.
Take it Easy: Secondary Collecting
Reusing yeast from the secondary is easier than popping a new pack of Wyeast. Less trub is present than in primary, so you can rack your fresh wort on top of the yeast cake and have an active fermentation almost immediately. If you’re like me and you prefer to start the new batch in a clean carboy, you can add the step of pouring the slurry into a fresh carboy (don’t forget to sanitize the neck and lip of your secondary with a spritz of sanitizer). Note that you shouldn’t need to oxygenate your wort at all. Yeast cells need oxygen during their reproductive phase, but at this concentration, they won’t need to do much reproducing.
Yeast from the secondary may diverge a little bit from what was originally pitched because the cells that make it to the secondary are less clumpy and are likely to be slightly more attenuative than the original culture. The skew in a single reuse is minor, though, and most people would not be able to tell in a blind taste.
While using this yeast immediately for the next batch is the simplest method, it’s also possible to save the slurry for later. You can collect it all in a single large container, or you can split it among several smaller ones. Remember to sanitize the neck of the carboy, the containers, and their lids. The yeast can be stored for 4–6 weeks, but it’ll probably be good for twice that long—I tend to be conservative.
Closer to the Source: Primary Collecting
If you take yeast from the primary, it will be fresher and closer to the original culture, but it takes some extra work to separate the viable yeast from the trub. This is often referred to as washing or rinsing the yeast, but it’s more accurate to call it decanting. After diluting the mix of yeast and trub, you’ll go through two steps of pouring yeast and liquid off the heavier trub. You may choose to add more decanting steps to further reduce the amount of trub, but it’s not necessary.
1. Set Up
First, you’ll need to boil and cool 2–4 quarts (1.89–3.78 l) of water. This will be used to dilute the yeast and trub mixture. You’ll also need to sanitize several glass containers. You’ll want to have a larger one (at least 2–4 quarts, or 1.89–3.78 l) for the decanting, along with jars to hold the final collection. If you’re going to pitch the whole thing directly into the next batch, you’ll need a second large container. However, if you’re willing to make yeast starters, a few smaller containers will do.
2. Dilution and Mixing
Right after you’ve racked your last beer into the secondary, pour the water you boiled into the primary. Swirl the carboy to mix the liquid and sediment thoroughly. Let the carboy settle for 30 minutes or so before you continue to the next step.
3. First Decant
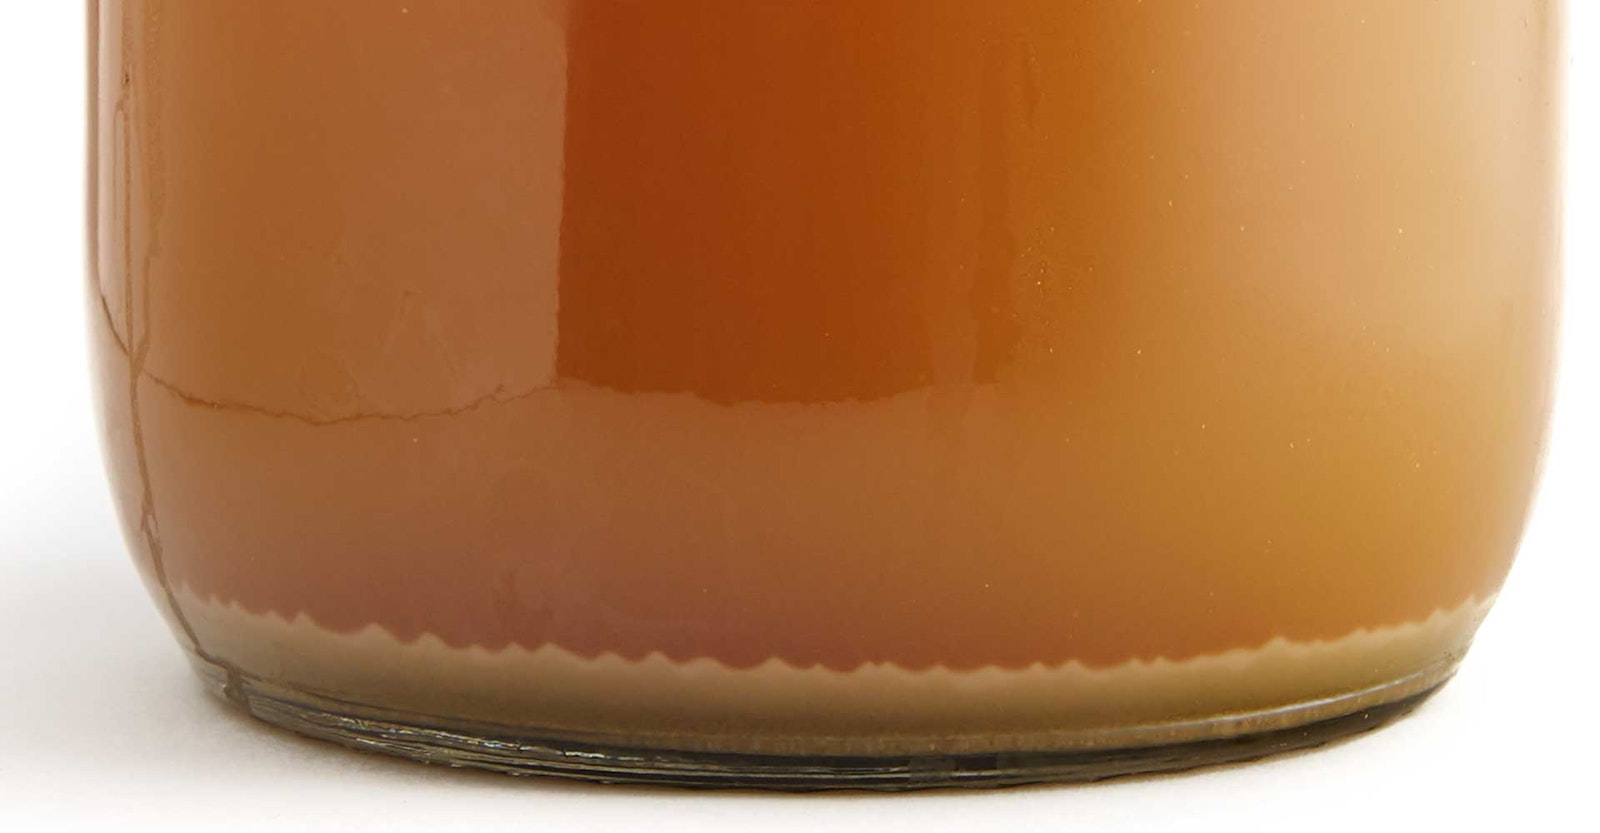
You should see three striations in the carboy: a layer of liquid, a beige layer of yeast, and a darker layer of trub. Sanitize the neck of the primary, then carefully pour the yeast and liquid layers into the first large container. Leave as much of the bottom layer of trub behind as you can. If your container fills up before you’ve gotten all of the yeast and liquid, that’s fine. Let it go. Seal the container with a sanitized lid or bit of plastic wrap. Swirl the mixture and let it settle for 45–60 minutes.
4. Second Decant
You will see the same three-layer separation as before, but the trub layer should be thinner. Once again, pour off the liquid and yeast layers, discarding the trub. At this point, you’re decanting into your storage containers. These should be sealed and refrigerated for later use.
Final Thoughts
Either of these techniques will let you reuse your yeast five or six times. You may be able to stretch your batch more than that, but you run the risk of mutation, yeast senescence, and infection.
There are a few things to keep in mind when reusing your yeast, though. The most important to consider is carryover between batches. It’s generally better to reuse yeast beginning with lighter colored, lower alcohol, less hoppy beers, to darker, heavier ones. If you start with darker beer, you risk introducing some residual character to the second beer. Similarly, I wouldn’t try to reuse Rauchbier yeast for a Helles. Also, higher alcohol and hopping rates can stress the yeast cells more, shortening their useful lifetimes.
In addition, keep in mind that very high pitching rates will give you less fermentation character, such as esters and (positive) phenols. So, you may not want to drop a Belgian Quad or saison onto a secondary yeast cake. In that case, you’re better off dividing the slurry first.
Finally, the debate over collecting from the primary or secondary can be heated, but both have worked well for me. That said, I tend to use the simple method. Give it a try yourself and save the yeast!

